I’m back home after my Wyoming trip with no big juried show deadlines to paint for, so it’s my time of year to work on my painting process, in which I review the work I did over the last year thinking about what worked and what didn’t, what I might want to do in the coming year and how. I’m also going back to basics in a couple of areas to improve my skill set. One of those areas is contour drawing. I shared some of the those from the SKB workshop in last week’s post. Another is value studies or, as David Rankin, the nationally-known watercolorist who I studied with at the workshop, calls them, Gray Studies. You can find a number of his excellent tutorials on his Facebook page here and on his website here. (Go to “Watercolor Training Files” on the left hand side and then “Grey Studies Training Files”.
I spent quite a bit of time one afternoon at the workshop simply figuring out, with his help, how to put down a correct single tone watercolor wash (the *secret* is plenty of water) using a 1″ flat brush (I usually use rounds). The really important exercise was learning his four value “recipe” for doing gray studies by painting along with him as he did one.
Once back home in the studio I wanted to build on what I’d learned. I’ve done value studies as a preliminary step for my paintings for years and it was something I’d learned in art school. I’d done them as graphite drawings or very small oils and it always felt a bit time consuming, however necessary. But this way of doing them in watercolor was an eye-opener. So easy, really. Paint around the whites, covering everything else. Then add layers of middle values. Save the darkest dark, if there is one, for last. But it took some new thinking and seeing to be able to do it and know what I was doing.
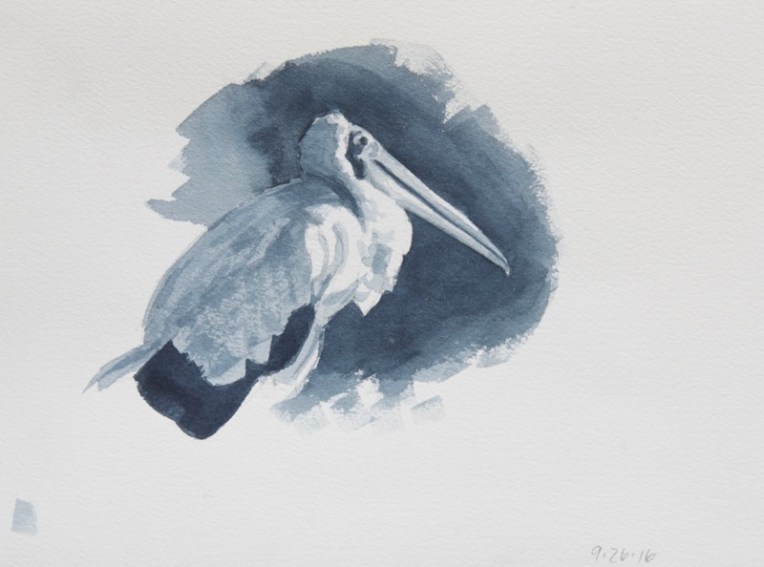
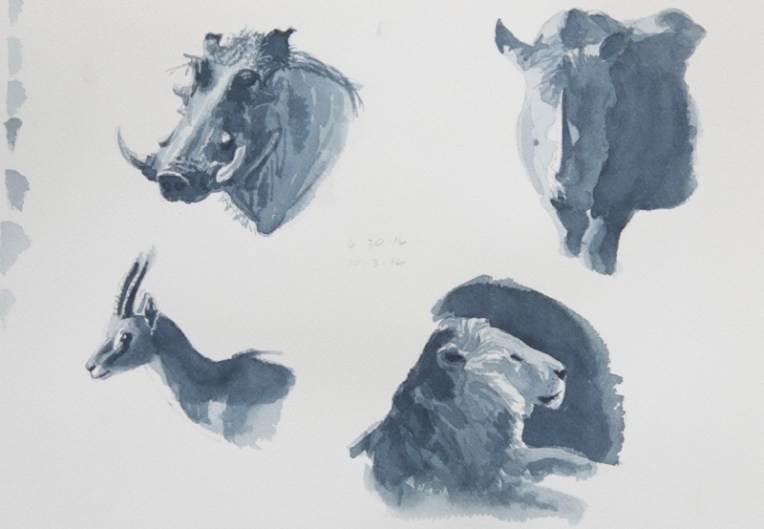
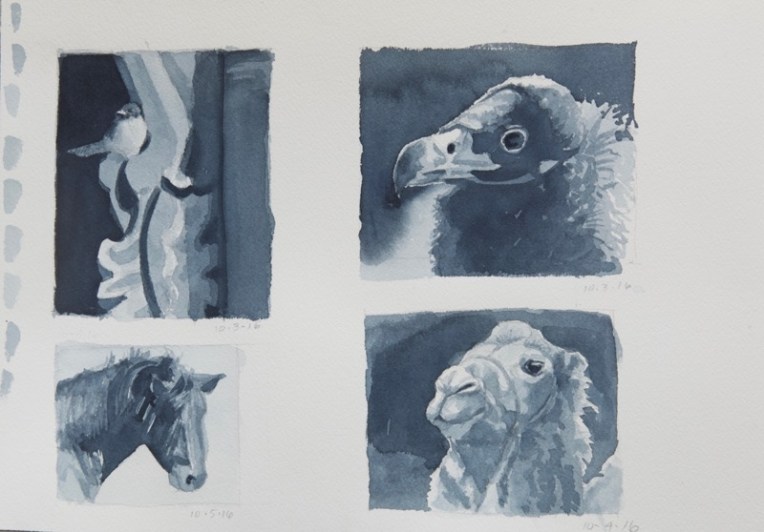
So I’ve spent most of the week painting gray studies from my photo reference. It was fun to revisit some of my Kenya wildlife images. These are all in Payne’s Gray (which has a very nice blueish tone) on an Arches 140lb cold press watercolor block, using sometimes a flat and sometimes a round. None took more than an hour or so. The stork above was the second one. In order:


At this point I felt that I understood the process enough to paint some that might become finished oils.

I did the quick preliminary drawings with a 9B Cretacolor Monolith pencil. It’s important not to labor over them, just indicate the basic shapes, plus where the white of the paper will be. So there you have it…a quick and inexpensive way to try out art ideas and value patterns.
